Use Slack's Incoming Webhooks from your Rails app
Incoming Webhooks are the simplest way to post messages from your application into your users' Slack channels. They use plain HTTP requests with JSON payloads to post text messages and rich content alike.
If you're building a Slack app, with Rails, you probably want to make use of incoming webhooks to send custom message notifications about your app. To do this, we'll authenticate your app to your user's Slack team and extract the incoming webhook URL from the API.
Embed the "Add to Slack" button
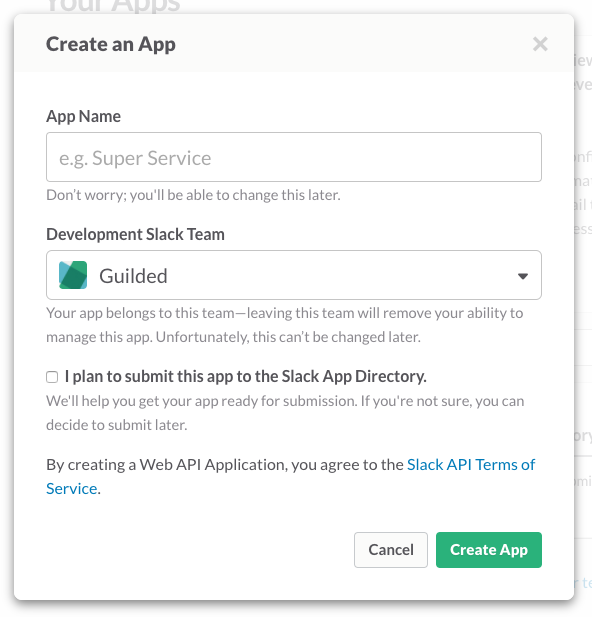
If you haven't already registered your app with Slack, go to the Your Apps page and click "Create New App". Give your app a name and click "Create App".
After you've created your app, head over to the Slack Button documentation page and scroll down to the "Add the Slack button" section. There you'll find a form where you can customize the code for embedding your Slack button. Be sure to select your app name from the list. Also be sure the "incoming webhook" option is selected.

Paste the resulting code into the view where you want your user to authenticate their Slack team with your application. You'll most likely want this to occur after the user has already authenticated themselves with your app so they'll be able to log back in and change their preferences.
Create a callback endpoint
When your users click the "Add to Slack" button, they'll be taken to a Slack-hosted page where they'll verify that they want to give you the ability to post to Slack on their behalf. After they confirm, Slack will redirect to an OAuth Redirect URL. This URL will receive a special code from Slack that will grant your app access to Slack's API features, including incoming webhooks.
Before we build the endpoint, add the Slack API gem to your Gemfile. I came across two popular gems at the time of this writing. The one we'll use is the slack-api gem:
# Gemfile
gem 'slack-api'
Run bundle install to download the gem and load it into your app.
Next, define a route in your routes.rb file for our new endpoint:
# config/routes.rb
Rails.application.routes.draw do
  # ...
  get '/auth/callback', to: 'slack#callback'
end
Then, create a corresponding controller in app/controllers:
# app/controllers/slack_controller.rb
class SlackController < ApplicationController
  # If you're using Devise to authenticate your
  # users, you'll want to first ensure you
  before_action :authenticate_user!

  def callback
    client = Slack::Client.new
    response = client.oauth_access(
      client_id: <YOUR_SLACK_CLIENT_ID>,
      client_secret: <YOUR_SLACK_CLIENT_SECRET>,
      code: params[:code],
      redirect_uri: "http://localhost:3000/auth/callback"
    )

    if current_user.update_attributes(
      slack_access_token: response['access_token'],
      slack_incoming_webhook_url: response['incoming_webhook']['url']
    )
      redirect_to root_path
    else
      render text: "Oops! There was a problem."
    end
  end
end
First, we create a before_action which authenticates the user before entering
the controller action. It's likely you'll want to know who is clicking the "Add
to Slack" button so you're able to save their Slack credentials for later use
and/or discarding.
Then, in the action, we create a new Slack::Client object and call the Slack
API method oauth.access
which will grant us access to the Slack access token, incoming webhook URL, and
other metadata associated with the Slack account we just authorized.
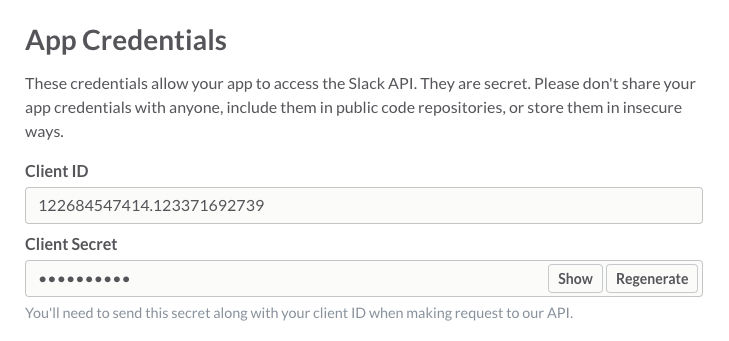
You'll want to change the client_id and client_secret
settings to reflect the settings in your Slack app's configuration.
Since we defined the route to our callback as /auth/callback in our routes
file, you should use http://localhost:3000/auth/callback (or a different port
if you're running Rails elsewhere) as the
redirect_uri value. Note that you'll want to make this configurable when you
deploy this to production.
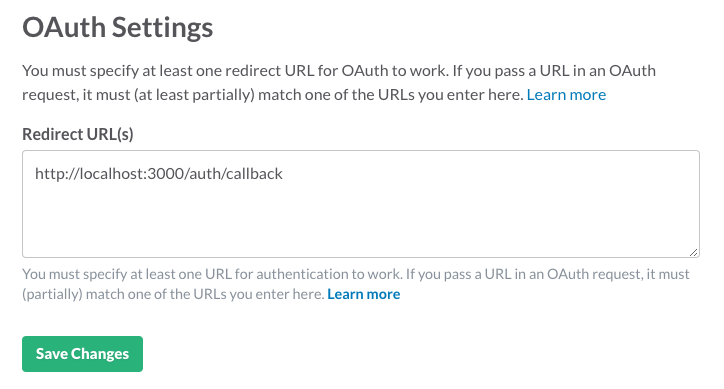
You'll also want to add http://localhost:3000/auth/callback to the redirect
URL field in your Slack app config panel:
After we call oauth_access, we then update our current_user record's
slack_access_token and slack_incoming_webhook_url attributes with the values
in the API response. You might want to store them differently in your app, so
I've added this purely for illustration. But you'll want to store them somewhere
so you're able to access them when we post messages using the incoming webhook.
Send a message using the webhook
We've successfully authorized our Rails app to use the Slack API on behalf of our user. Now let's post a message using the incoming webhooks API!
For demonstration, let's build an endpoint at /post_message which posts the
message "Hello, Slack!" into the user's Slack when we visit it.
First, add a route declaration:
# config/routes.rb
Rails.application.routes.draw do
  # ...
  get '/auth/callback', to: 'slack#callback'
  get '/post_message', to: 'slack#post_message'
end
We're going to use the Faraday gem as our HTTP client. Any HTTP client gem will do, since the incoming webhook is just a plain HTTP request. Add it to your Gemfile:
# Gemfile
# ...
gem 'faraday'
And add a new controller action to SlackController:
class SlackController < ApplicationController
  # ...

  def post_message
    conn = Faraday.new(url: current_user.slack_incoming_webhook_url)

    conn.post do |req|
      req.headers['Content-Type'] = 'application/json'
      req.body = { text: "Hello, Slack!" }.to_json
    end

    render text: "Posted to Slack!"
  end
end
First we create a new Faraday connection with the URL we captured in our
callback action. Then, we post to the endpoint using a JSON request body.
The payload of the request is formatted according to the specification in the
Slack Incoming Webhooks
documentation. Finally, we render some text to let the user know we posted to
Slack.
We ought to do more error handling in the event Slack doesn't respond, but I'll leave that as an exercise for the reader.
Assuming everything is wired up, when you point your browser at http://localhost:3000/post_message, you'll find a new message waiting for you in Slack!
I had a tough time sifting through the Slack documentation to find a decent Rails walkthrough, so I hope this guide answers some of your questions.